If you’ve ever been interrupted by the Sticky Keys feature while gaming or typing, you’ll understand the urgency of disabling Sticky Keys on Windows 10 & 11 fast. Let’s dive straight into the steps.
Quick Steps to Disable Sticky Keys on Windows 10
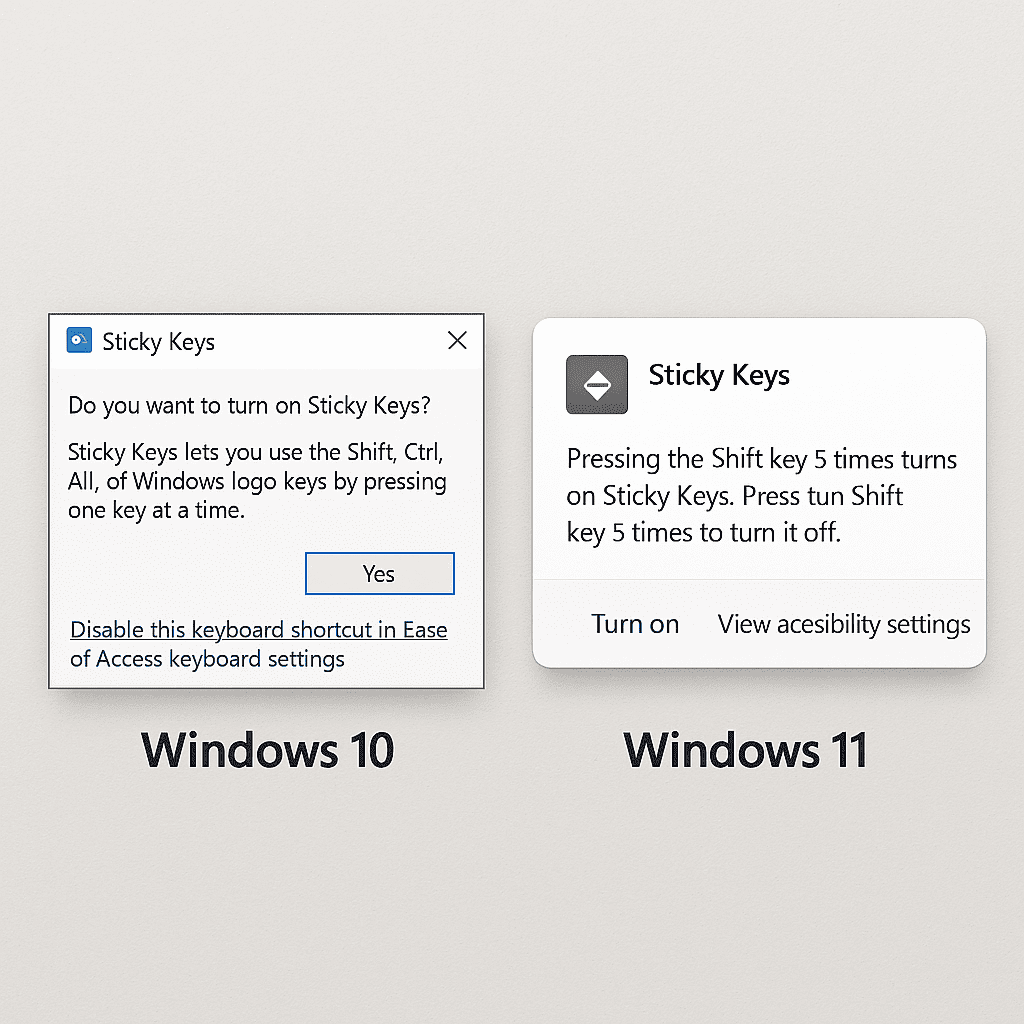
- Press the Shift key five times to trigger the Sticky Keys pop-up.
- In the pop-up, click Go to the Ease of Access Center.
- Uncheck the box labeled Turn on Sticky Keys and click Apply.
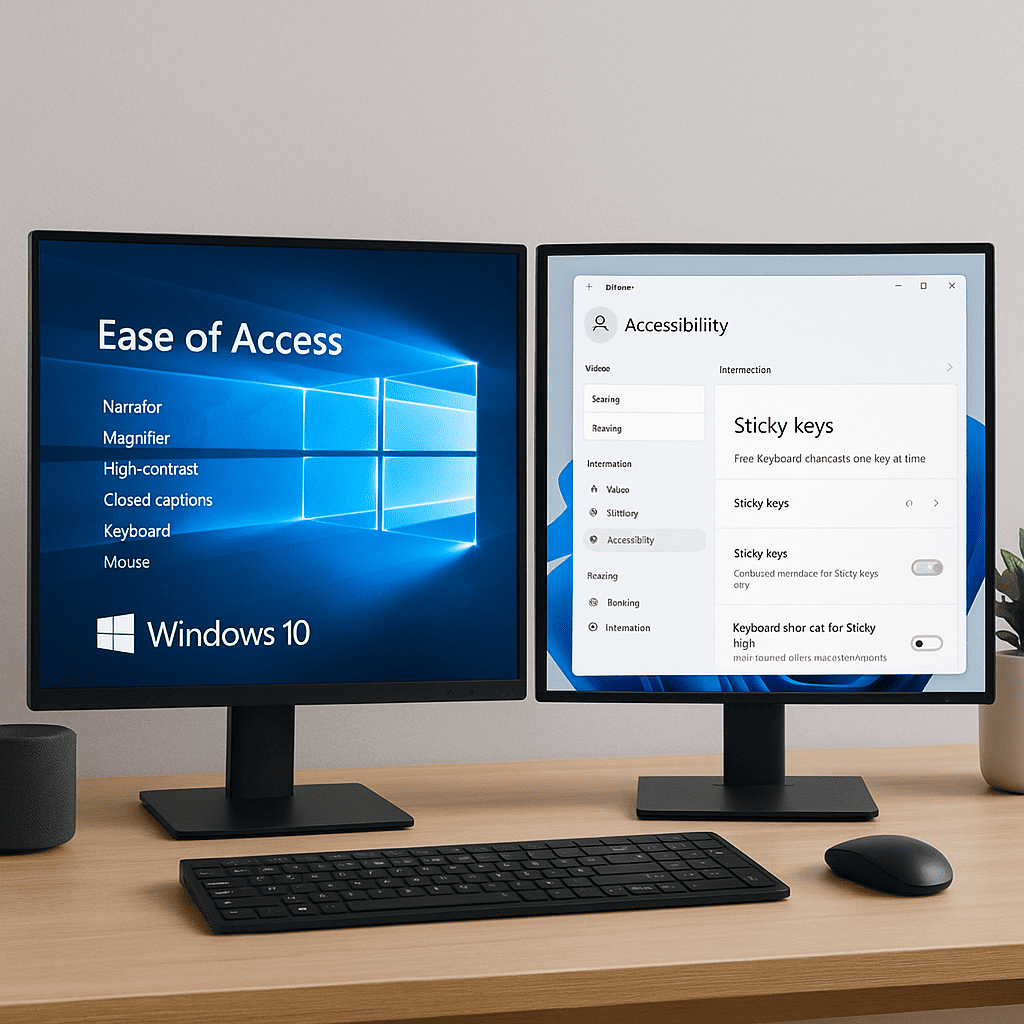
Quick Steps to Disable Sticky Keys on Windows 11
- Press the Windows key, then type Sticky Keys and select Sticky Keys settings.
- Toggle the switch next to Sticky Keys to Off.
Temporary vs. Permanent Solutions
Disabling Sticky Keys temporarily stops it from interrupting your current session. However, to ensure it doesn’t re-enable after a restart, follow the steps for both Windows 10 and 11 to permanently disable the feature in the Ease of Access settings.
How to Stop Annoying Sticky Keys Notifications
To avoid the annoying notifications, go to the Ease of Access settings, and under Sticky Keys, uncheck the box that says Allow the shortcut key to start Sticky Keys. This way, you won’t accidentally enable it again by pressing Shift five times.
Introduction to Sticky Keys
Have you ever found yourself typing along, only to be interrupted by an unexpected pop-up about Sticky Keys settings? If so, you’re not alone. Many users encounter Sticky Keys without fully understanding what it is or why it suddenly activates. In this section, we’ll demystify Sticky Keys and explore common scenarios that may cause it to turn on unexpectedly, along with some of the frustrations users experience when this happens.
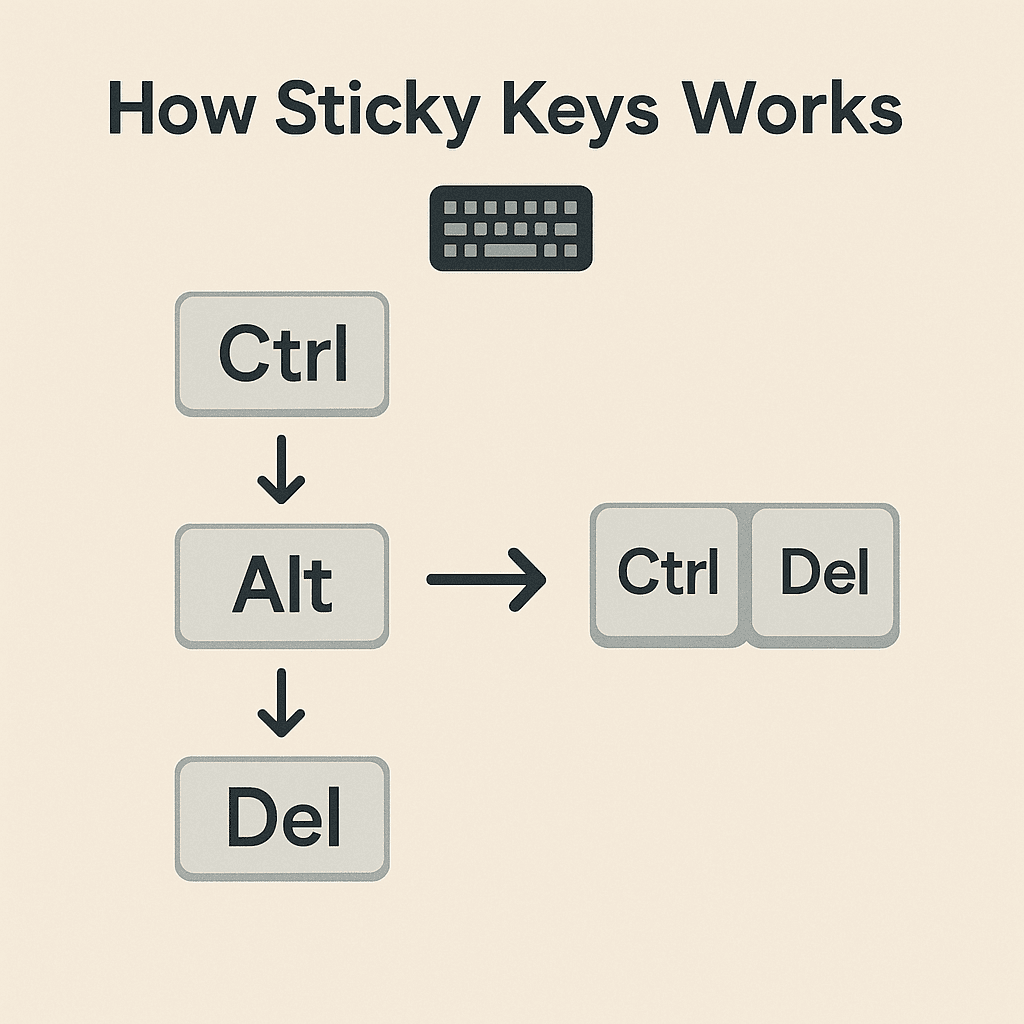
Sticky Keys is an accessibility feature designed to help individuals who have difficulty pressing multiple keys simultaneously. It allows modifier keys (such as Shift, Ctrl, Alt, or the Windows key) to remain active until another key is pressed, making tasks like keyboard shortcuts easier for those with certain physical limitations.
However, Sticky Keys can sometimes activate at inconvenient moments. For instance, pressing the Shift key five times in quick succession will prompt the feature to turn on. This can happen accidentally during intense gaming sessions, rapid typing, or even while trying to execute specific keyboard shortcuts. The sudden activation can be jarring and disruptive, especially if you weren’t intending to use the feature.
Many users find Sticky Keys frustrating because it can interrupt their workflow, causing confusion and unnecessary pauses. The unexpected behavior of Sticky Keys can be particularly annoying if you’re in the middle of an important task or using your computer in a way that requires quick, uninterrupted keyboard actions.
Understanding how Sticky Keys works and the common scenarios where it might activate can help you manage this feature more effectively. In the next sections, we’ll dive deeper into how to disable Sticky Keys and customize your keyboard settings to avoid these unexpected interruptions.
Temporary Disable Methods for Sticky Keys
Sticky Keys can be a helpful accessibility feature, especially for those who find it difficult to press multiple keys simultaneously. However, there are times when you might want to temporarily disable Sticky Keys. Let’s explore the easiest methods to do this in Windows 10.
Using Keyboard Shortcuts
One of the quickest ways to temporarily disable Sticky Keys is by using keyboard shortcuts. If Sticky Keys is activated and you want to turn it off for a while, simply press the Shift key five times rapidly. This action will bring up a prompt asking if you want to disable Sticky Keys. Select No to keep it off temporarily.
Disabling Through Ease of Access Settings
If you prefer a more permanent solution, you can disable Sticky Keys through the Ease of Access settings. Here’s a step-by-step guide:
- Click the Start menu and select Settings.
- Navigate to Ease of Access.
- Under the Keyboard section, find Sticky Keys.
- Toggle off the switch to disable Sticky Keys permanently.
For beginners, this method is straightforward and ensures that Sticky Keys won’t activate unintentionally in the future.
Learn more about keyboard shortcuts and their uses.
Temporary vs. Permanent Disable Options
It’s important to understand the difference between temporarily and permanently disabling Sticky Keys. Using keyboard shortcuts is ideal for temporary needs, allowing you to quickly revert the setting when necessary. In contrast, modifying the Ease of Access settings is best for those who prefer a permanent solution.
For further assistance, you can visit the official Microsoft support page on Sticky Keys.
Permanent Disable Methods for Sticky Keys
If you’re looking to permanently disable Sticky Keys and ensure it doesn’t turn on again, you’re in the right place. Below, we’ll guide you through the process for both Windows 10 and Windows 11. Let’s dive in!
Windows 10
- Open Settings: Press Windows key + I to open the settings menu.
- Access Ease of Access: Click on Ease of Access.
- Navigate to Keyboard Settings: Scroll down and select Keyboard from the left-hand menu.
- Turn Off Sticky Keys: Under the Sticky Keys section, toggle the switch to Off.
- Advanced Settings: Click on Set up Sticky Keys and uncheck all the options to prevent Sticky Keys from turning on again.
Windows 11
- Open Settings: Press Windows key + I to launch the settings menu.
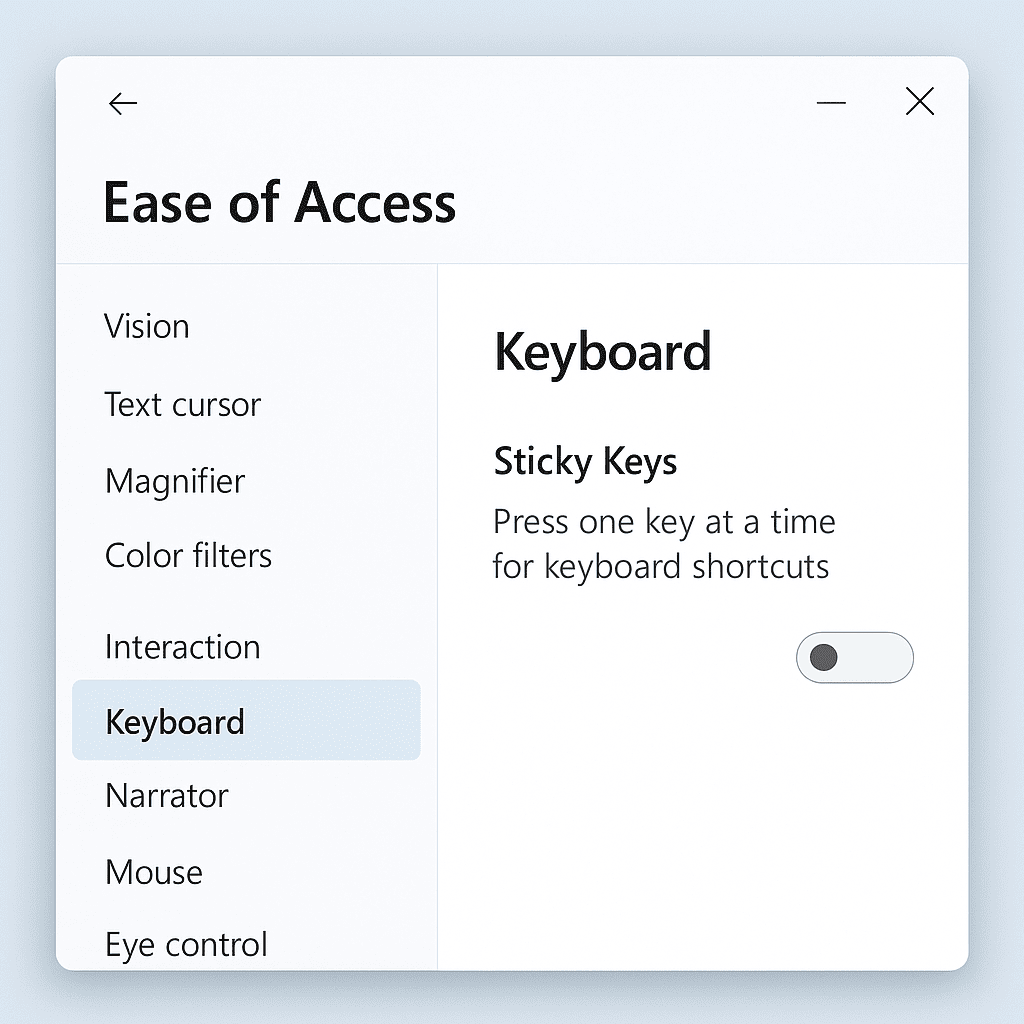
- Access Accessibility: Select Accessibility from the left sidebar.
- Keyboard Settings: Under the Interaction section, click on Keyboard.
- Disable Sticky Keys: Locate the Sticky Keys toggle and switch it to Off.
- Advanced Options: Click on Sticky Keys and make sure to uncheck all options to ensure it doesn’t activate again.
“Permanently disabling Sticky Keys ensures a smoother and uninterrupted workflow.”
By following these step-by-step guides, you can permanently disable Sticky Keys on both Windows 10 and Windows 11. This will help you avoid any unexpected interruptions while using your computer.
For additional tips and customizations, explore more Windows tips and tricks.
Disabling Sticky Keys Notifications
Disabling Sticky Keys notifications can be a straightforward process if you know where to look. Let’s walk through the steps to ensure these notifications no longer disrupt your workflow.
- Navigate to the Ease of Access settings:First, open the Settings menu by pressing Windows + I. From here, select Ease of Access.
- Access Sticky Keys settings:In the Ease of Access menu, click on the Keyboard option in the left-hand sidebar. Scroll down until you find the Sticky Keys section.
- Disable notifications for Sticky Keys:Within the Sticky Keys settings, you will see an option labeled Allow the shortcut key to start Sticky Keys. Make sure this is toggled off. Additionally, look for the setting labeled Show a warning message when turning a setting on and Play a sound when turning a setting on or off. Ensure both of these options are unchecked to disable Sticky Keys notifications.
- Ensuring notifications do not reappear:It’s essential to double-check that these settings have been saved. You can do this by navigating back to the main Ease of Access menu and confirming that the changes persist even after a system restart.
If you want more detailed guidance, the official Microsoft guide on Ease of Access settings can provide authoritative support. This can be particularly useful if you encounter any unexpected issues.
By following these steps, you can effectively disable Sticky Keys notifications and enjoy a smoother, uninterrupted computing experience.
Troubleshooting Common Issues with Sticky Keys
When trying to troubleshoot Sticky Keys, there are a few common issues you might encounter. Below, we’ll address some of these problems and offer practical solutions.
Sticky Keys option greyed out:
If you find the Sticky Keys option greyed out, it could be due to the fact that certain administrative settings are preventing changes. Here’s how you can fix it:
- Ensure you have administrator privileges on your computer.
- Go to Settings > Ease of Access > Keyboard.
- Check if the option is still greyed out. If it is, you might need to change the settings in the Group Policy Editor.
- Press Windows Key + R, type gpedit.msc, and press Enter.
- Navigate to Computer Configuration > Administrative Templates > Control Panel > Ease of Access Center.
- Double-click on Configure Sticky Keys and set it to Not Configured or Disabled.
- Apply the changes and restart your computer.
Sticky Keys turning on unexpectedly:
Sometimes, Sticky Keys might activate without you intending it to. This often happens when you press the Shift key five times in a row. To prevent this:
- Go to Settings > Ease of Access > Keyboard.
- Under the Sticky Keys section, uncheck the option Allow the shortcut key to start Sticky Keys.
Other related accessibility features causing issues:
Sometimes, other accessibility features might conflict with Sticky Keys. Make sure to review and adjust the settings for accessibility features such as Filter Keys or Toggle Keys:
- Go to Settings > Ease of Access > Keyboard.
- Ensure that features like Filter Keys and Toggle Keys are configured according to your preferences.
For a more visual guide, check out our video demonstration on how to troubleshoot these common Sticky Keys issues:
For further assistance, you might find valuable insights on community forums discussing Sticky Keys issues.
Summary and Additional Resources
To recap, we have explored both temporary and permanent methods to disable Sticky Keys effectively. Whether you chose to disable Sticky Keys via the system settings or by tweaking the registry, you now have the tools to manage this feature according to your preference.
For those who prefer visual guidance, we have compiled a series of video tutorials that walk you through each method step-by-step:
Additionally, we have created a comprehensive Sticky Keys guide in PDF format, which you can download here for offline reference. This guide includes all the steps discussed, along with troubleshooting tips and extra resources.
By utilizing these resources, you can ensure that your experience with Sticky Keys is fully under your control, whether you need to disable it temporarily or permanently.
Frequently Asked Questions about Disabling Sticky Keys
How do I turn off Sticky Keys temporarily?
To turn off Sticky Keys temporarily, you can use a keyboard shortcut. Simply press the Shift key five times in quick succession. If you want to navigate through your computer’s settings, head to the Ease of Access settings and disable it from there.
Why do Sticky Keys keep turning on?
Sticky Keys might keep turning on due to accidental key presses, especially if you frequently use the Shift key. Additionally, default settings in Windows can enable Sticky Keys when the Shift key is pressed five times consecutively.
Can I disable Sticky Keys notifications?
Yes, you can disable Sticky Keys notifications through the Ease of Access settings. To do this, follow these steps:
- Open the Settings menu.
- Select Ease of Access.
- Click on Keyboard in the left-hand menu.
- Under the Use Sticky Keys section, uncheck the box that says Show a warning message when turning on Sticky Keys.
What if the Sticky Keys option is greyed out?
If you find that the Sticky Keys option is greyed out, it might be due to administrative settings or system restrictions. Check with your system administrator to ensure that these settings are not locked. Sometimes, certain user accounts might have limited permissions, preventing changes to accessibility options.
Conclusion
Learning how to disable Sticky Keys on Windows 10 & 11 fast can dramatically enhance your computing experience. Whether you need a quick fix or a permanent solution, understanding the differences in procedures between Windows 10 and 11 is crucial. By following the steps outlined in this guide, you can effectively stop those pesky Sticky Keys notifications and enjoy a smoother, more efficient workflow. Remember, whether you’re on Windows 10 or 11, the methods to disable Sticky Keys are designed to be straightforward and user-friendly.
Leave a Reply